NCM-MCI-6.5

Practice NCM-MCI-6.5 Exam

Is it difficult for you to decide to purchase Nutanix NCM-MCI-6.5 exam dumps questions? CertQueen provides FREE online Nutanix Certified Master - Multicloud Infrastructure (NCM-MCI)v6.5 NCM-MCI-6.5 exam questions below, and you can test your NCM-MCI-6.5 skills first, and then decide whether to buy the full version or not. We promise you get the following advantages after purchasing our NCM-MCI-6.5 exam dumps questions.
1.Free update in ONE year from the date of your purchase.
2.Full payment fee refund if you fail NCM-MCI-6.5 exam with the dumps


 Full NCM-MCI-6.5 Exam Dump Here

Latest NCM-MCI-6.5 Exam Dumps Questions

The dumps for NCM-MCI-6.5 exam was last updated on Aug 20,2025 .

Viewing page 1 out of 0 pages.

Viewing questions 1 out of 3 questions

Question#1

Task 14
The application team has requested several mission-critical VMs to be configured for disaster recovery. The remote site (when added) will not be managed by Prism Central. As such, this solution should be built using the Web Console.
Disaster Recovery requirements per VM:
Mkt01
RPO: 2 hours
Retention: 5 snapshots
Fin01
RPO: 15 minutes
Retention: 7 days
Dev01
RPO: 1 day
Retention: 2 snapshots
Configure a DR solution that meets the stated requirements.
Any objects created in this item must start with the name of the VM being protected.
Note: the remote site will be added later
See the Explanation for step by step solution.

A. To configure a DR solution that meets the stated requirements, you can follow these steps:
Log in to the Web Console of the source cluster where the VMs are running.
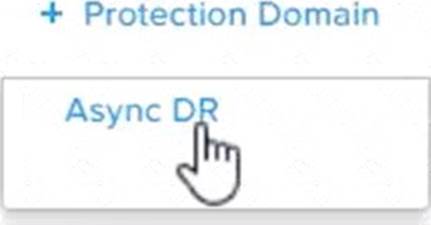
Click on Protection Domains on the left menu and click on Create Protection Domain.
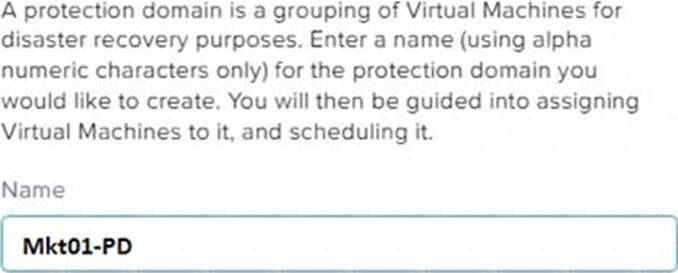
Enter a name for the protection domain, such as PD_Mkt01, and a description if required. Click Next.
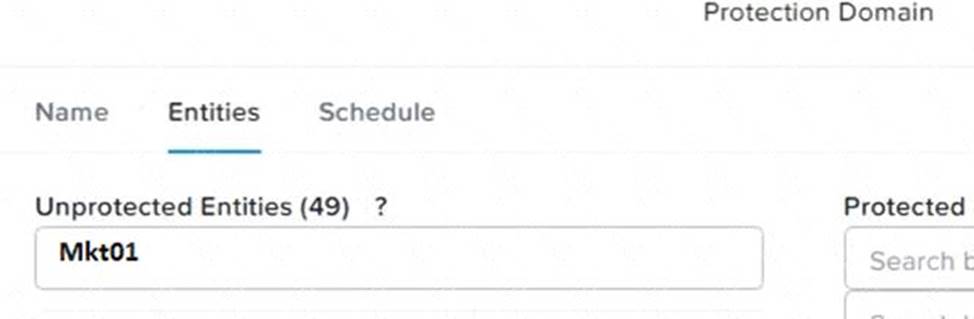
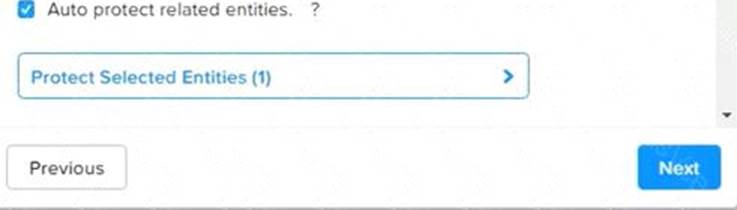
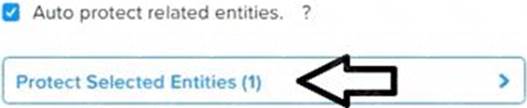
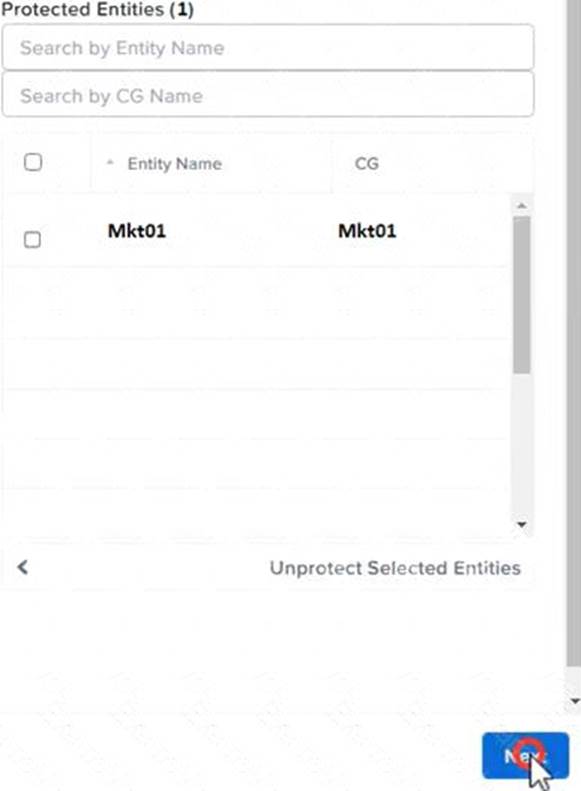
Select Mkt01 from the list of VMs and click Next.
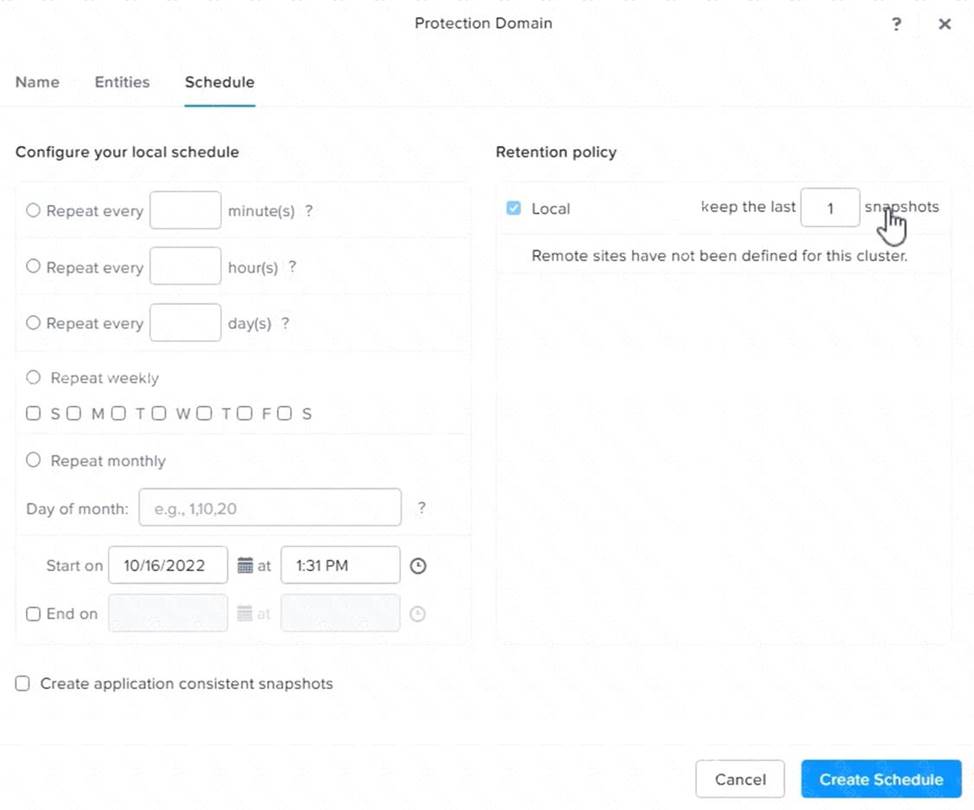
Select Schedule Based from the drop-down menu and enter 2 hours as the interval. Click Next.
Select Remote Site from the drop-down menu and choose the remote site where you want to replicate the VM.
Click Next.
Enter 5 as the number of snapshots to retain on both local and remote sites. Click Next.
Review the protection domain details and click Finish.
Repeat the same steps for Fin01 and Dev01, using PD_Fin01 and PD_Dev01 as the protection domain names, and adjusting the interval and retention values according to the requirements.


Question#2

1. Topic 1, Performance Based Questions

Environment
You have been provisioned a dedicated environment for your assessment which includes the following:

Workstation
• windows Server 2019
• All software/tools/etc to perform the required tasks
• Nutanix Documentation and whitepapers can be found in desktop\files\Documentation
• Note that the workstation is the system you are currently togged into

Nutanix Cluster
• There are three clusters provided. The connection information for the relevant cluster will be displayed to the high of the question Please make sure you are working on the correct cluster for each item Please ignore any licensing violations
• Cluster A is a 3-node cluster with Prism Central 2022.6 where most questions will be performed
• Cluster B is a one-node cluster and has one syslog item and one security item to perform
• Cluster D is a one-node duster with Prism Central 5.17 and has a security policy item to perform

Important Notes
• If the text is too small and hard to read, or you cannot see an of the GUI. you can increase/decrease the zoom of the browser with CTRL +, and CTRL + (the plus and minus keys)
You will be given 3 hours to complete the scenarios for Nutanix NCMMCI
Once you click the start button below, you will be provided with:
- A Windows desktop A browser page with the scenarios and credentials (Desktop\instructions) Notes for this exam delivery:
The browser can be scaled lo Improve visibility and fit all the content on the screen.
- Copy and paste hot-keys will not work Use your mouse for copy and paste.
- The Notes and Feedback tabs for each scenario are to leave notes for yourself or feedback for
- Make sure you are performing tasks on the correct components.
- Changing security or network settings on the wrong component may result in a falling grade.
- Do not change credentials on an component unless you are instructed to.
- All necessary documentation is contained in the Desktop\Files\Documentation directory

Task4
An administrator will be deploying Flow Networking and needs to validate that the environment, specifically switch vs1, is appropriately configured. Only VPC traffic should be carried by the switch.
Four versions each of two possible commands have been placed in Desktop\Files\Network\flow.txt. Remove the hash mark (#) from the front of correct First command and correct Second command and save the file.
Only one hash mark should be removed from each section. Do not delete or copy lines, do not add additional lines. Any changes other than removing two hash marks (#) will result in no credit.
Also, SSH directly to any AHV node (not a CVM) in the cluster and from the command line display an overview of the Open vSwitch configuration. Copy and paste this to a new text file named Desktop\Files\Network\AHVswitch.txt.
Note: You will not be able to use the 192.168.5.0 network in this environment.
First command
#net.update_vpc_traffic_config virtual_switch=vs0
net.update_vpc_traffic_config virtual_switch=vs1
#net.update_vpc_east_west_traffic_config virtual_switch=vs0
#net.update_vpc_east_west_traffic_config virtual_switch=vs1
Second command
#net.update_vpc_east_west_traffic_config permit_all_traffic=true
net.update_vpc_east_west_traffic_config permit_vpc_traffic=true
#net.update_vpc_east_west_traffic_config permit_all_traffic=false
#net.update_vpc_east_west_traffic_config permit_vpc_traffic=false

A. First, you need to open the Prism Central CLI from the Windows Server 2019 workstation. You can do this by clicking on the Start menu and typing “Prism Central CLI”. Then, you need to log in with the credentials provided to you.
Second, you need to run the two commands that I have already given you in Desktop\Files\Network\flow.txt.
These commands are:
net.update_vpc_traffic_config virtual_switch=vs1 net.update_vpc_east_west_traffic_config permit_vpc_traffic=true
These commands will update the virtual switch that carries the VPC traffic to vs1, and update the VPC east-west traffic configuration to allow only VPC traffic. You can verify that these commands have been executed successfully by running the command:
net.get_vpc_traffic_config
This command will show you the current settings of the virtual switch and the VPC east-west traffic configuration.
Third, you need to SSH directly to any AHV node (not a CVM) in the cluster and run the command:
ovs-vsctl show
This command will display an overview of the Open vSwitch configuration on the AHV node. You can copy and paste the output of this command to a new text file named Desktop\Files\Network\AHVswitch.txt.
You can use any SSH client such as PuTTY or Windows PowerShell to connect to the AHV node. You will need the IP address and the credentials of the AHV node, which you can find in Prism Element or Prism Central.
remove # from greens
On AHV execute:
sudo ovs-vsctl show
CVM access AHV access command
nutanix@NTNX-A-CVM:192.168.10.5:~$ ssh root@192.168.10.2 "ovs-vsctl show"
Open AHVswitch.txt and copy paste output

Question#3

Task 16
Running NCC on a cluster prior to an upgrade results in the following output
FAIL: CVM System Partition /home usage at 93% (greater than threshold, 90%)
Identify the CVM with the issue, remove the fil causing the storage bloat, and check the health again by running the individual disk usage health check only on the problematic CVM do not run NCC health check
Note: Make sure only the individual health check is executed from the affected node
See the Explanation for step by step solution.

A. To identify the CVM with the issue, remove the file causing the storage bloat, and check the health again, you can follow these steps:
Log in to Prism Central and click on Entities on the left menu.
Select Virtual Machines from the drop-down menu and find the NCC health check output file from the list. You can use the date and time information to locate the file. The file name should be something like ncc-output-YYYY-MM-DD-HH-MM-SS.log.
Open the file and look for the line that says FAIL: CVM System Partition /home usage at 93% (greater than threshold, 90%). Note down the IP address of the CVM that has this issue. It should be something like X.X.X.X.
Log in to the CVM using SSH or console with the username and password provided.
Run the command du -sh /home/* to see the disk usage of each file and directory under /home. Identify the file that is taking up most of the space. It could be a log file, a backup file, or a temporary file. Make sure it is not a system file or a configuration file that is needed by the CVM.
Run the command rm -f /home/<filename> to remove the file causing the storage bloat. Replace <filename> with the actual name of the file.
Run the command ncc health_checks hardware_checks disk_checks disk_usage_check --cvm_list=X.X.X.X to check the health again by running the individual disk usage health check only on the problematic CVM. Replace X.X.X.X with the IP address of the CVM that you noted down earlier.
Verify that the output shows PASS: CVM System Partition /home usage at XX% (less than threshold, 90%).
This means that the issue has been resolved.
#access to CVM IP by Putty
allssh df -h #look for the path /dev/sdb3 and select the IP of the CVM
ssh CVM_IP
ls
cd software_downloads
ls
cd nos
ls -l -h
rm files_name
df -h
ncc health_checks hardware_checks disk_checks disk_usage_check

Exam Code: NCM-MCI-6.5         Q & A: 16 Q&As         Updated:  Aug 20,2025


 Full NCM-MCI-6.5 Exam Dumps Here